
A website launch checklist protects months of work from a few avoidable mistakes. We have seen new sites go live with staging noindex tags still in place, contact forms that emailed nobody, and old URLs left without redirects, wiping out years of search traffic overnight. This is the checklist we run at Savoir Management before and after every launch. Work through it in order, and do not announce the launch until every critical item is checked.
Why does a launch checklist matter?
Launch is when small oversights become expensive. A single noindex tag, broken form or missing redirect can cost rankings, leads and credibility. A checklist turns launch day into a routine instead of a gamble.
Most launch problems are not hard to fix. They are hard to notice, because the people who built the site know where everything is. A checklist forces you to look at the site the way a new visitor and a search engine will.
Step 1: Is the content complete and correct?
Every page should have final copy, correct contact details, working links, real images with alt text and no placeholder text. Typos and dead links on launch day undermine trust immediately.
No "lorem ipsum," test pages or placeholder images
Business name, phone, email, address and hours correct everywhere
Prices, offers and policies up to date
Every internal and external link works
Images compressed, correctly sized and described with alt text
Legal pages in place: privacy policy, terms and, where relevant, cookie and accessibility statements
Step 2: Do design and user experience work everywhere?
Test every key page on several phones, tablets and desktop browsers. Check navigation, buttons, layouts, fonts and interactive elements, and complete each main task the way a visitor would.
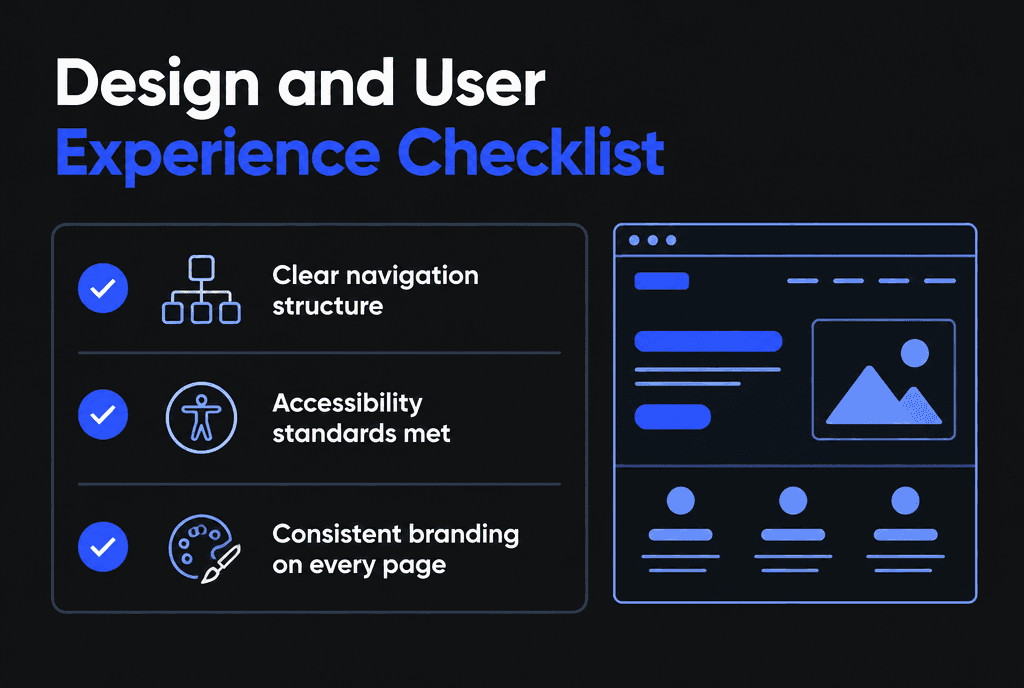
Layouts hold together from 320 pixels wide to large desktop screens
Menus open and close correctly, including with a keyboard
Buttons and links have clear hover and focus states
Text is readable without zooming, with sufficient contrast
Pop-ups and banners can be dismissed easily on mobile
Favicon and social sharing images are in place
Our mobile-responsive development guide covers mobile checks in depth.
Step 3: Are the SEO essentials in place?
Every indexable page needs a unique title and meta description, one clear H1, logical headings, descriptive URLs and alt text. Structured data, an XML sitemap and a correct robots.txt complete the foundation.

Unique, descriptive title tags; see Google's guidance on title links
Helpful meta descriptions for key pages; see snippets
Structured data validated with the Rich Results Test or Schema Markup Validator
An XML sitemap that lists only live, indexable URLs; see Google's sitemap overview
A robots.txt file that does not block important pages; see Google's robots.txt introduction
No leftover noindex tags. Staging sites are often set to noindex; Google's guide to blocking indexing with noindex explains how the tag works, so confirm it is gone from production.
Open Graph tags for social sharing, following the Open Graph protocol
Step 4: Are redirects mapped from the old site?
If you are replacing an existing site, list every old URL and redirect each one to its closest new page with a permanent 301 redirect. Missing redirects are the most common cause of traffic loss after a relaunch.
Export old URLs from your sitemap, analytics and Search Console, then build a redirect map. Avoid chains (old to older to new) and redirecting everything to the homepage. Google's documentation on site moves with URL changes and redirects describes the process. If you are redesigning, our website redesign checklist covers the planning side.
Step 5: Is the site fast enough?
Test key templates with PageSpeed Insights and aim for good Core Web Vitals: LCP within 2.5 seconds, INP of 200 milliseconds or less and CLS of 0.1 or less, especially on mobile.
Run PageSpeed Insights on the homepage, a service or product page, a blog post and the contact or checkout page. The thresholds come from web.dev's Web Vitals guide. If a page fails, fix the largest image, unused scripts and layout shifts first. Our site speed guide explains each fix.
Step 6: Is the site accessible?
Check color contrast, keyboard navigation, focus visibility, form labels, alt text, heading order and captions. Accessibility protects real users and reduces legal risk.
Run an automated scan with a tool such as WAVE, then test manually: tab through every page, complete forms with a keyboard and try a screen reader on key pages. Use WCAG as the standard. Our ADA-compliant web development guide explains the legal context.
Step 7: Are security and hosting ready?
Serve every page over HTTPS, update all software, remove unused plugins and accounts, use strong passwords and multi-factor authentication, and confirm automatic backups run and can be restored.
Valid SSL certificate and HTTP redirected to HTTPS
CMS, themes and plugins updated; unused ones removed
Admin accounts reviewed, default usernames removed, MFA enabled
Forms protected from spam and abuse
Backups scheduled off-site, with a tested restore
Hosting sized for expected traffic and monitored for uptime
Custom features should be reviewed against the OWASP Top 10. WordPress sites should follow the official hardening guide.
Step 8: Are conversion paths working?
Submit every form, place test orders or bookings, click every call button and confirm that notifications, autoresponders and CRM entries arrive. A broken form on launch day silently loses leads.

Every form sends to the right inbox and CRM
Confirmation messages and emails are clear and on-brand
Phone numbers are tappable on mobile
Booking and checkout flows complete end to end
Thank-you pages exist for tracking conversions
See our guides to conversion-focused web development and high-converting landing pages.
Step 9: Is tracking set up and verified?
Install analytics on the live domain, define conversion events, connect ad platforms and confirm everything fires before you announce the launch. Without tracking, you cannot measure whether the new site works.
Follow Google's guide to setting up Analytics and use recommended events such as generate_lead or purchase. Verify the site in Search Console and connect it to Analytics.
Who should own each item on the checklist?
Assign a named owner to every section: content to the business owner or writer, design and functionality to the developer, SEO and redirects to the SEO lead, and tracking to whoever manages marketing. Shared ownership usually means no ownership.
On small projects one person may own several sections, which is fine as long as it is written down. Keep the checklist in a shared document, mark each item as done with the date and the person who checked it, and agree in advance who decides whether a problem blocks the launch. Critical items, such as indexing settings, redirects, forms and tracking, should block launch until fixed. Minor items, such as a slightly heavy image on a low-traffic page, can go on a post-launch list.
What should you do on launch day?
Launch at a quiet time, switch DNS or publish, then immediately re-check HTTPS, redirects, forms, tracking, robots.txt and noindex settings on the live domain. Submit the sitemap and inspect key URLs.
Publish or point DNS to the new site during low traffic
Load the homepage and key pages over HTTPS
Test a sample of old URLs to confirm redirects
Submit one live form and one test conversion
Check robots.txt and page source for noindex tags
Submit the XML sitemap in Search Console
Use the URL Inspection tool on the homepage and top pages
Update the website link on your Google Business Profile and social profiles
How should you promote the launch?
Announce the new site to customers by email and social media, update your Google Business Profile and directory listings, and share useful new pages rather than just "we have a new website."

Give people a reason to visit: a new booking feature, a pricing page, a helpful guide or a special offer. Make sure campaigns point to dedicated landing pages, and consider a short paid campaign; our guide on how to launch a profitable Google Ads campaign can help.
What should you monitor after launch?
For the first four to eight weeks, check Search Console for indexing and crawl errors, analytics for traffic and conversions, Core Web Vitals, broken links, form submissions and uptime.
Weekly: Search Console coverage and errors, 404s and redirects
Weekly: conversions by page and source compared with the old site
Daily for the first week: form and checkout tests
Monthly: Core Web Vitals and speed on key templates
Rankings can fluctuate briefly after a relaunch. Steady redirects, a clean sitemap and useful content help them settle.
What are the most common launch mistakes?
Leaving staging noindex tags or robots.txt blocks in place, forgetting redirects, broken forms, missing analytics, unoptimized images and launching on a Friday afternoon with no one available to fix problems.
Most of these are covered above, and all of them are easier to prevent than to repair. Our list of web development mistakes that hurt SEO covers related issues.
How does Savoir Management handle launches?
Every project goes through this checklist with a named owner for each item, a staged launch at a quiet time, live verification and several weeks of post-launch monitoring.
Our web development team builds and launches sites on WordPress, Shopify and custom stacks. Need a site quickly? See how we approach fast-turnaround web development.


